Category Archives: straight crafty

One Word: EXHAUSTING

That is how my weekend can be summarized.

This weekend was the fastest, longest weekend in the history of weekends. If that makes any sense at all.
It all came to a head Thursday when I realized everything we were trying to take on.
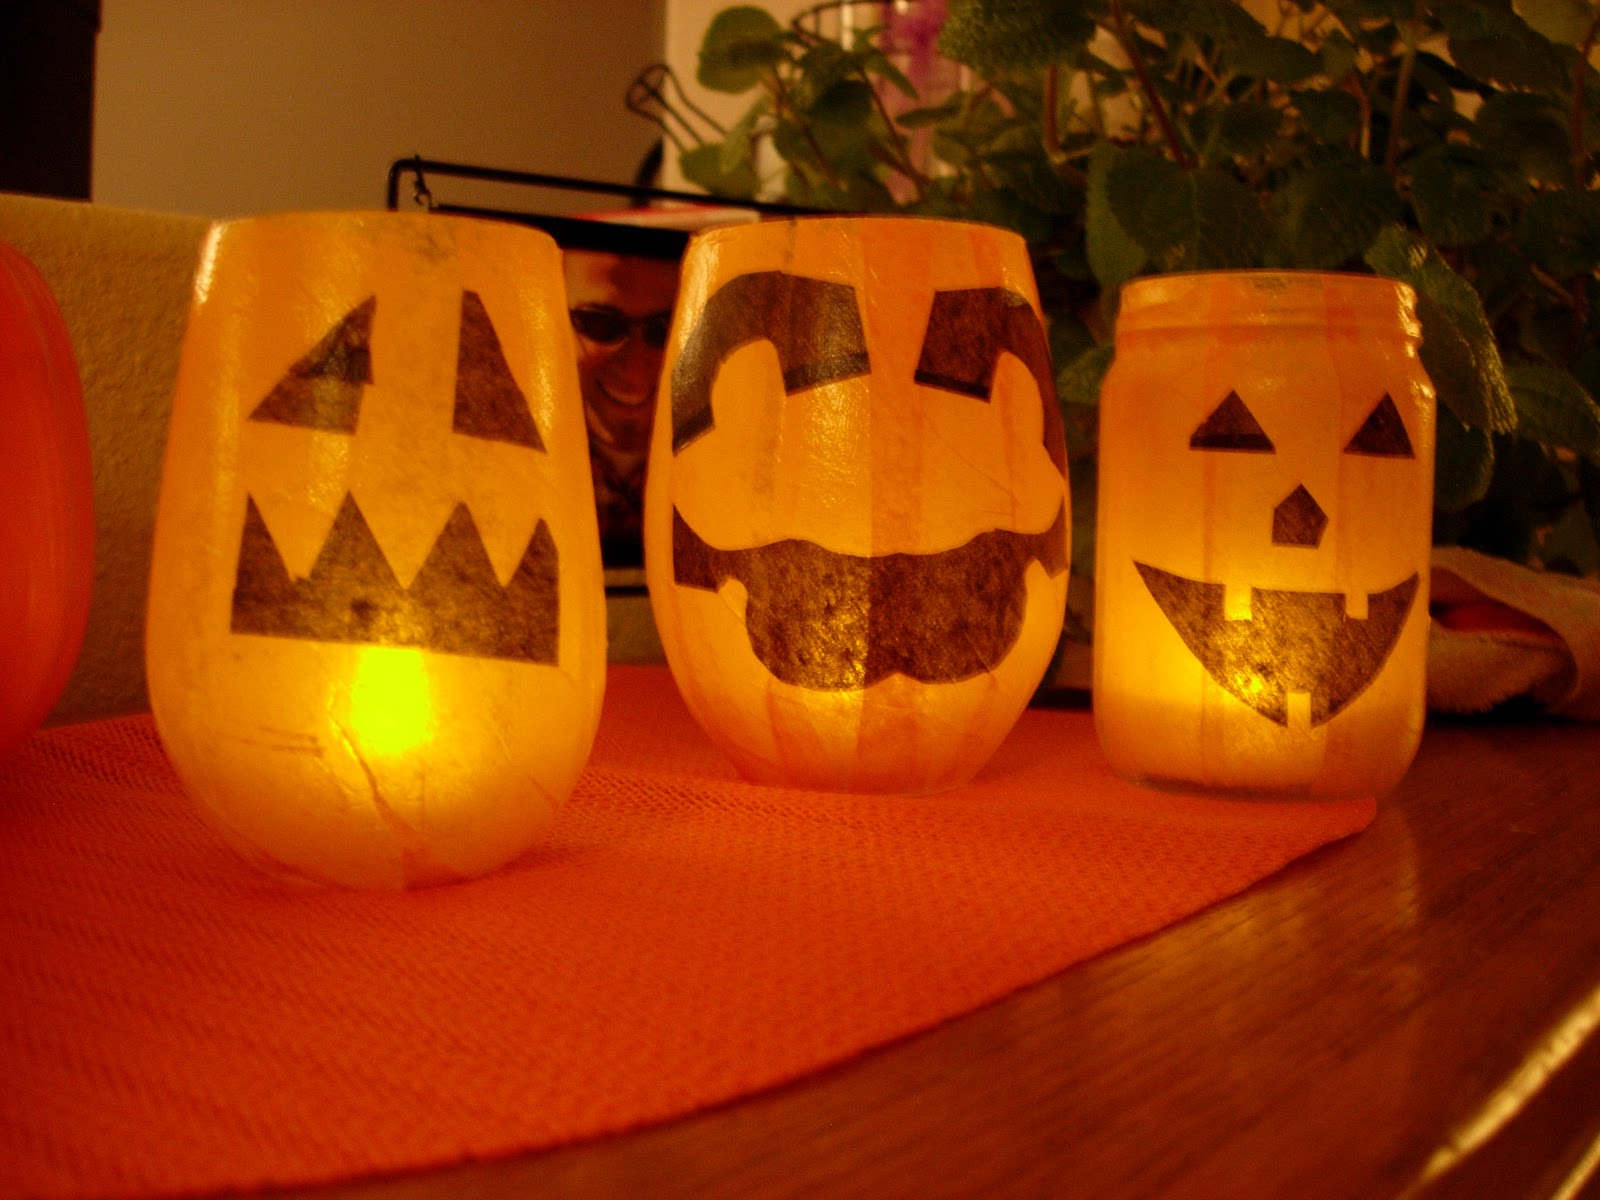
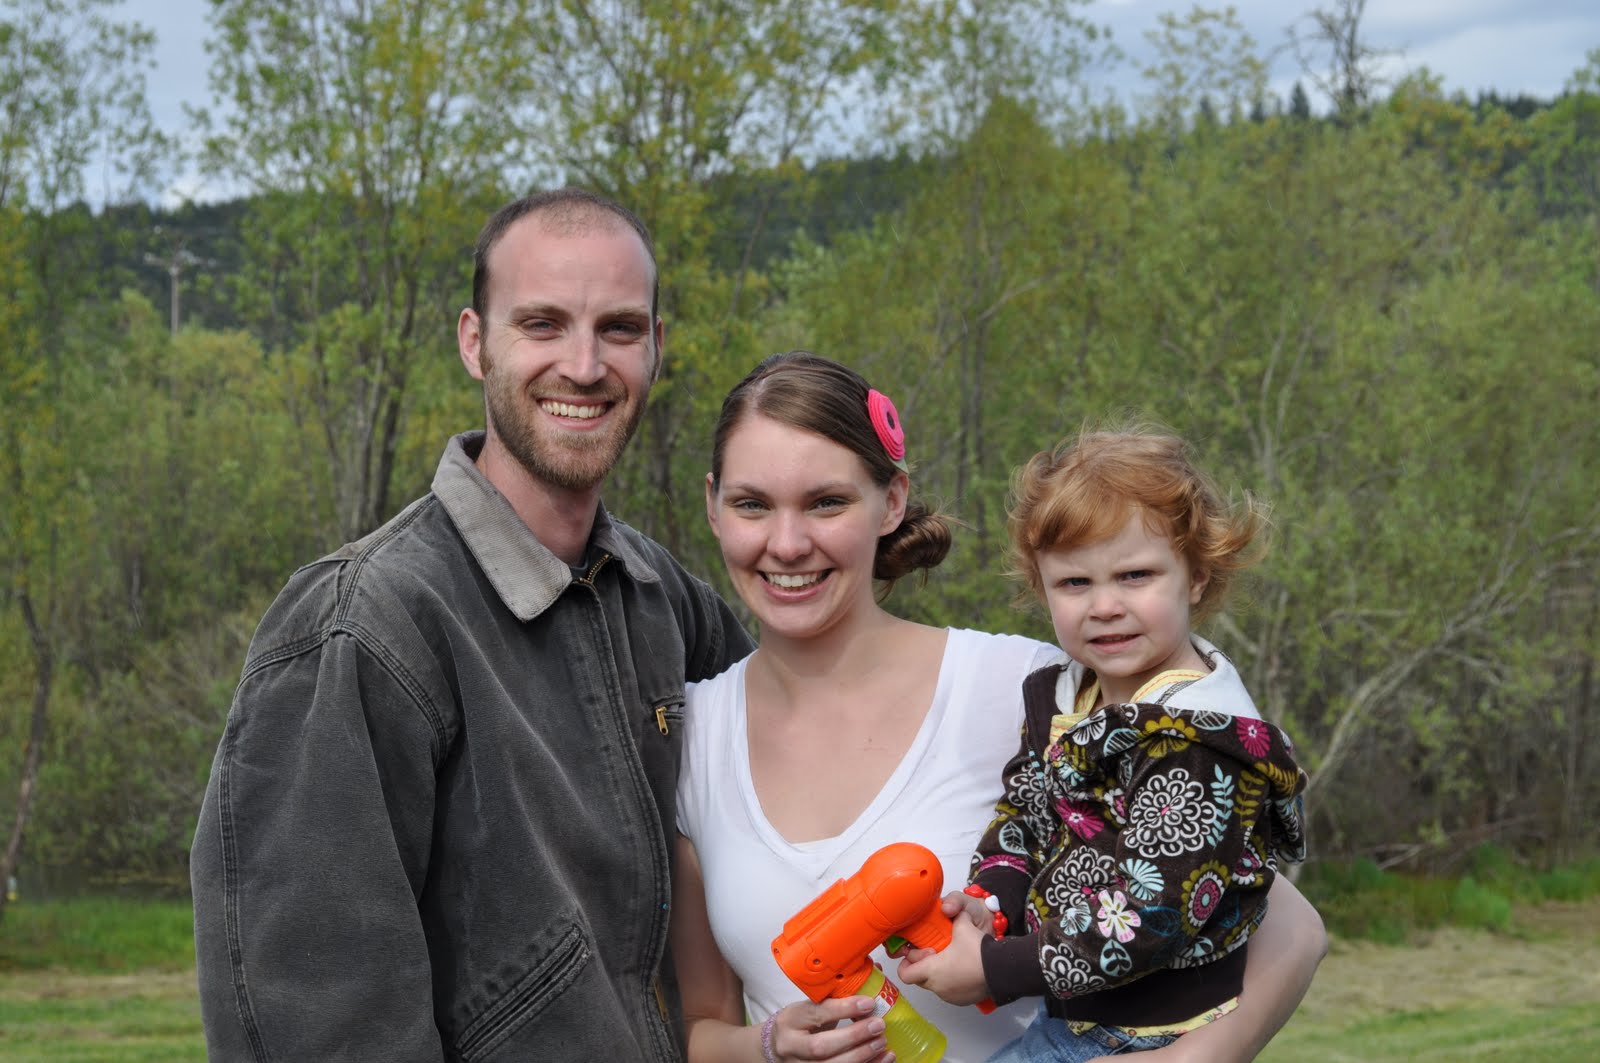
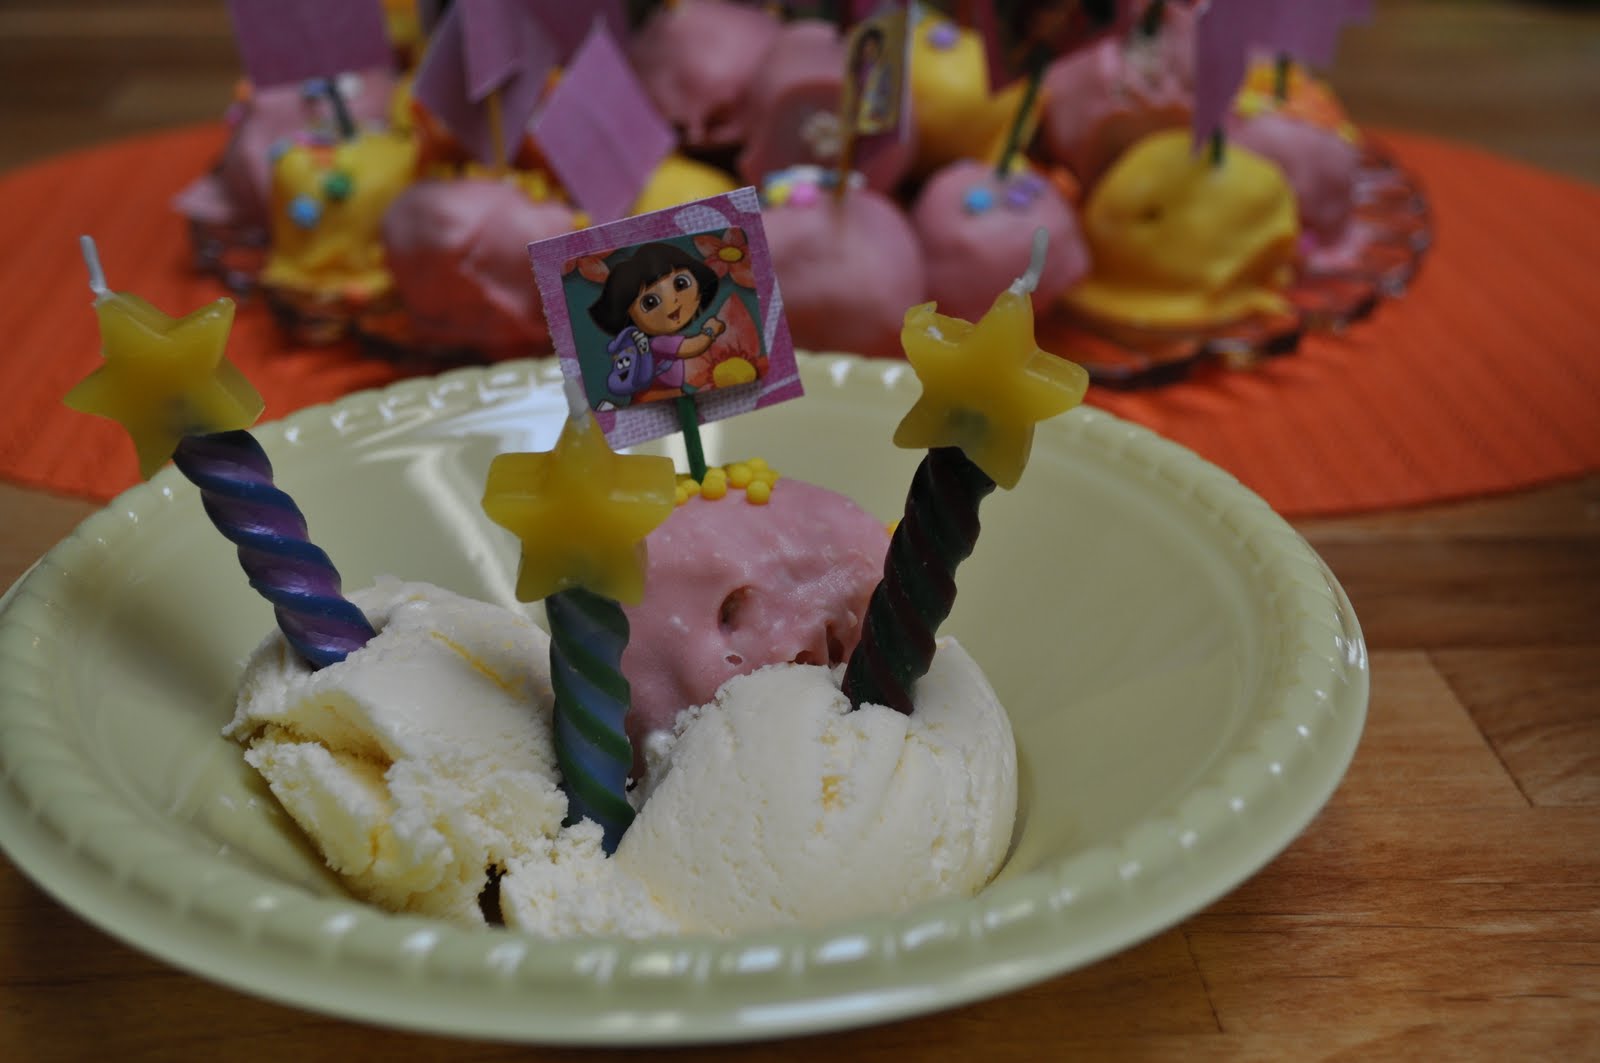
Grocery shopping. 3rd birthday party prep. Ry’s 3 year photos. Showing our rental to about 11 different interested parties. Dishes. Tons and tons of dishes. The actual birthday party. Remembering to feed and bathe my child.
On top of all that, Rylee woke up Thursday with a nasty little cough (she still has it!). And it was supposed to rain all weekend. 
I ended up and rescheduled Ry’s photo shoot. Which I was sad about but it was the smartest thing to do.
I was up late and up early all weekend and this morning? Today I’m feeling it and I have the venti iced coffee to prove it.
All in all, the weekend turned out great. Thanks, in a huge part, to my brother who came to my rescue to help with the party prep and toddler wrangling! The house showing was a success. We have some great applicants, now we just need to do our homework before we offer it to anyone. The party was all in all a success. And I somehow even remembered to bathe Rylee on Saturday night. 
This week will be busy as well, but I promise I will post Ry’s party. I also have a cute video of Ry singing Happy Birthday to Andy and another of her “reading” a book to her Cousin Connor. And I was even thinking about doing a series on the renovations we’re doing on the upstairs of the rental house. Interesting? Yes? No?
For now, I will leave you with this…
 
That’s it for now. I’m going to go fill up my coffee cup. If anyone would like to join me in a strongly worded letter writing campaign to instate nap time in the work place, let me know. Because I am really, really considering it.
How was your weekend?

Lemon Cello: In Photos

While you’r reading this post, I will be flying across the United States on my way to Indianapolis, Indiana for the 2011 Archery Trade Show. Indianapolis in January. Fun Stuff.

*************************

So, I had this grand idea to make lemon cello to bottle and use them as gifts for Christmas this year. I succeeded…partially. I made lemon cello. And it’s good. Oh, so good. However, it didn’t quite make it into any gift baskets. Weird how that happens, huh?

Anyway, the whole point of this post is to lay out just how easy it is to make your own infused vodka! I was really intimidated by this whole project, not able to really find any clear directions on the web. I finally found this recipe on the Pioneer Woman’s food site: Tasty Kitchen.

Ingredients:

  • 15 to 20 whole, organic lemons {I used 20}. Washed very well.
  • 2 whole bottles of 750 ml Everclear Vodka

___________________________

For the Simple Syrup:

  • 3 Cups Water
  • 4 Cups Sugar
Wash and dry your lemons.

Peel your lemons. Make sure you don’t get any of the white pithy part in your peels because it will make everything bitter. {You are only using the lemon peels for the lemon cello, so make a nice batch of lemonade or something with the rest of lemons.}
Put the peels in your jar and cover with the vodka. Cover the jar. {Since I couldn’t find a glass “iced tea” jar anywhere, I bought this glass cookie jar and just covered it with plastic wrap. It worked fine for steeping, but wasn’t the easiest when it came to pouring. Next time, I will find a different jar to use.}
Let your jar sit in a cool, dark place to steep for 4 to 6 weeks.

After the lemon peels and vodka have steeped for a good amount of time, make a simple syrup. Let the syrup cool, then pour into the jar with your lemon peels and vodka. Cover again and let it steep for another 4 to 6 weeks. {Your lemon peels will start to lose their color…this is supposed to happen.}

After your second round of steeping, you’re ready for bottling. I was able to repurpose glass bottles that I saved my sister had saved. All I had to do was wash off the labels and sterilize the bottles. Because I didn’t have the pour spout in my jar, I transferred the lemon cello into a pitcher for easy pouring. Before I did that, I used a slotted spoon to fish out the lemon peels onto a paper towel then squeezed the life out of the paper towel over the pouring pitcher to get all the lemon oils and leftover vodka.

Store your bottled lemon cello in the freezer. My favorite way to enjoy it is over ice using Squirt as a mixer. Yumm, yumm.

And, you know what’s steeping right now about ready for bottling?

Mint infused vodka.

MMMMmmm…

Super-easy Pumkpin "Candle" holders

Growing up, we did holidays. And we did them right. Halloween was no exception. My ever so crafty mom always made our costumes. I don’t ever remember wearing a purchased costume. Ever. One year, I was a ballerina, then next an orange crayon. I remember the year I was Jasmine from the movie Aladdin. The year after that I was Betty Rubble from the Flinstone’s movie; complete with the sand dollar glued to my blue felt dress. Oh yea, I rocked it. Oh, and do you remember when Troll dolls were all the rage? Yea, I was even one of those. {not one of my finest moments…}


Now, compared to the talent my mom has, I’m pathetic. However, I do try. And so, I give you…the extent of my Halloween Crafty-ness…


Pumpkin “Candle” Holders


I’m not going to lie, I was not creative enough to come up with this idea on my own. I saw the idea in a magazine. Taste of Home, if I remember correctly. 


First…gather your supplies:

  1. Various sizes glass jars. This is a great was to upcycle jelly jars, clear liquor bottles, etc. I also ventured to Goodwill and found some old stemless wine glasses for 50 cents each. SCORE!
  2. Tissue paper- orange and black {for pumpkins, obv} or even white and black to make ghosts
  3. Mod Podge
  4. Paint brush
  5. Rafia or twine to tie around the top of the jar
Next, cut your tissue paper into strips. I ended up folding those strips over to make the tissue paper a little thicker. After your strips are cut, go around the jar putting a good layer of modge-podge directly on the jar, carefully laying a strip of paper on, then covering the strip with another layer of the modge-podge. Once I went all the way around the jar I let it dry. Using your black tissue paper, cut out pumpkin faces and use the modge-podge to apply. Afterwards, I put another good layer of the modge-podge over everything and let it dry over night. {For the record…I tried to get photos of me actually deco-podging…do you know how hard that is!?}

Once they are all good and dry, get some of those LED “candles” and drop them in the bottom.
Vioala!


Happy Halloween!